Step 1 : From dashboard, on the left menu, go to: Posts. Then click Add New.
Step 2: Enter a Title, in format Capital Letters.
Step 3: At the OceanWP Settings, select Content Layout “Full Width“
Step 4: Go to Categories on the right, click the checkbox on any categories or you can Add New Category here.
Step 5: Add on Tags
Step 6: Select “Default Template“as template
Step 7: Set the “Feature Image” to be appear on the Blog Page.
Step 8: Click “Save Draft“. You can edit/change the status, or set the date you want to publish.
Note: Once the post is no longer valid for the customer you can change the “Status” to “Draft”
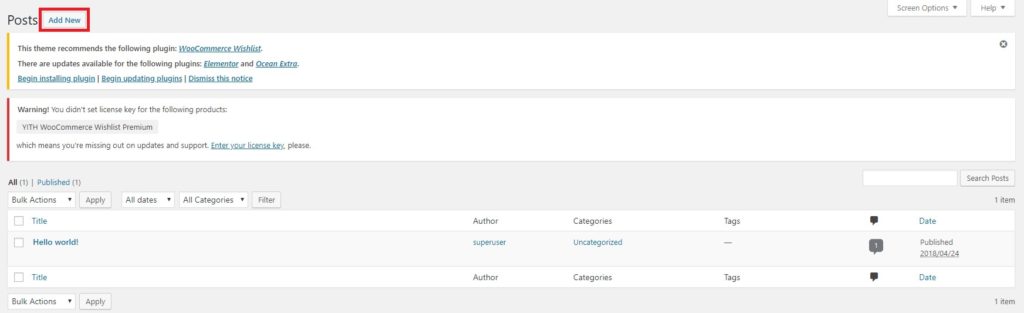
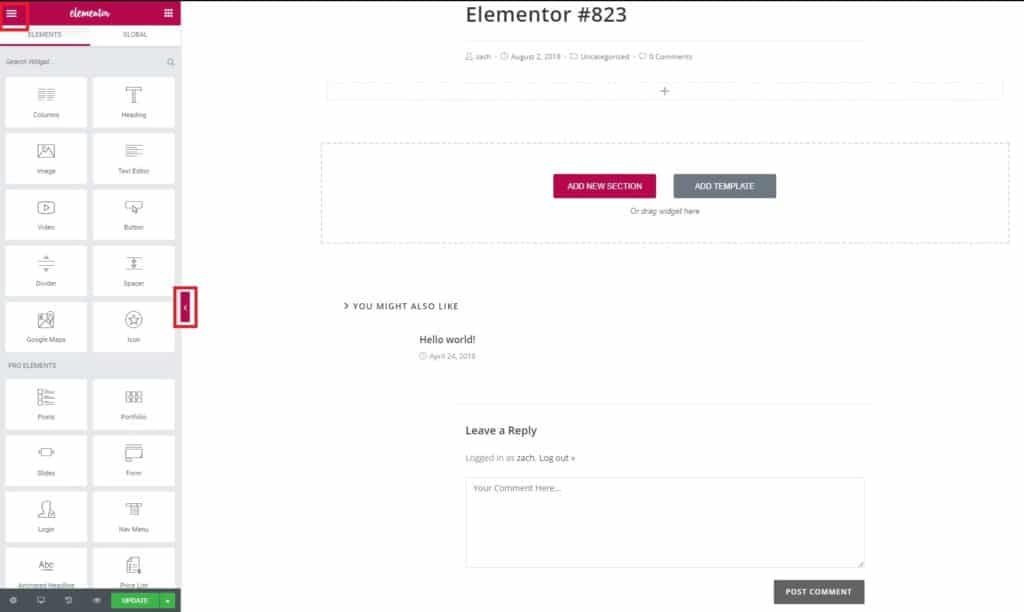
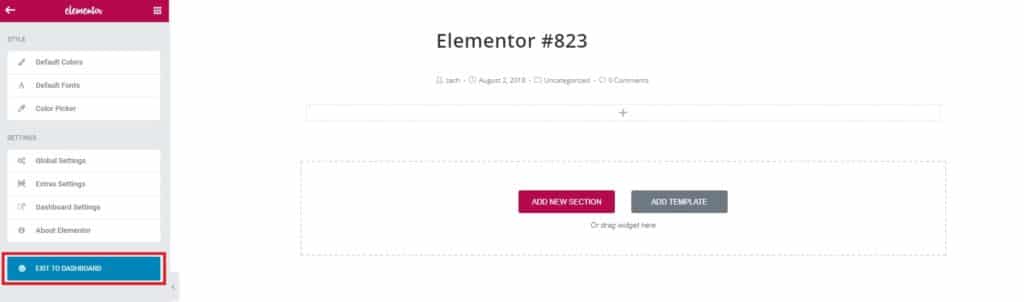
Step 9: Then click “Edit with Elementor” to start drafting your new blog post.
Step 10: Click Add New Section.
Step 10: “Select Your Structure“. Select the base structure for the blog section.
Step 11: Use your creativity to write a blog, drag and drop the tools on the left.
Step 12: Once you have done editing, click the button “Publish“
Notes
If you would like to see the full view of the page during editing, you just need to click the arrow button at the side of the elementor tools.
If you wisht to exit the editing blog post page, you can click the three line menu button.
Lastly, click on exit dashboard.